Filament Recycling
31 Jan 2023 - alyssarahman
TO BE ADDED
0. Sorting and Prep
TO BE ADDED
1. Shredding
Before you can do the fun part (extruding new filament), you need to get your plastic parts ground uniformly. Dedicated shredders for plastic recycling can be really expensive, so I went the DIY route and kept costs to around $60.
Materials
- (Required) 12+ page cross-cut shredder - ~$50
- (Recommended) ABS Plastic Sheets - $22
- (Optional) Heat Gun - $28
- Saw/oscillating multi-tool
- Duct Tape
- Screw Driver
How-To
For the most part I followed this instructable: $50 Plastic Shredder / Grinder / Recycle.
I would however recommend the following tweaks:
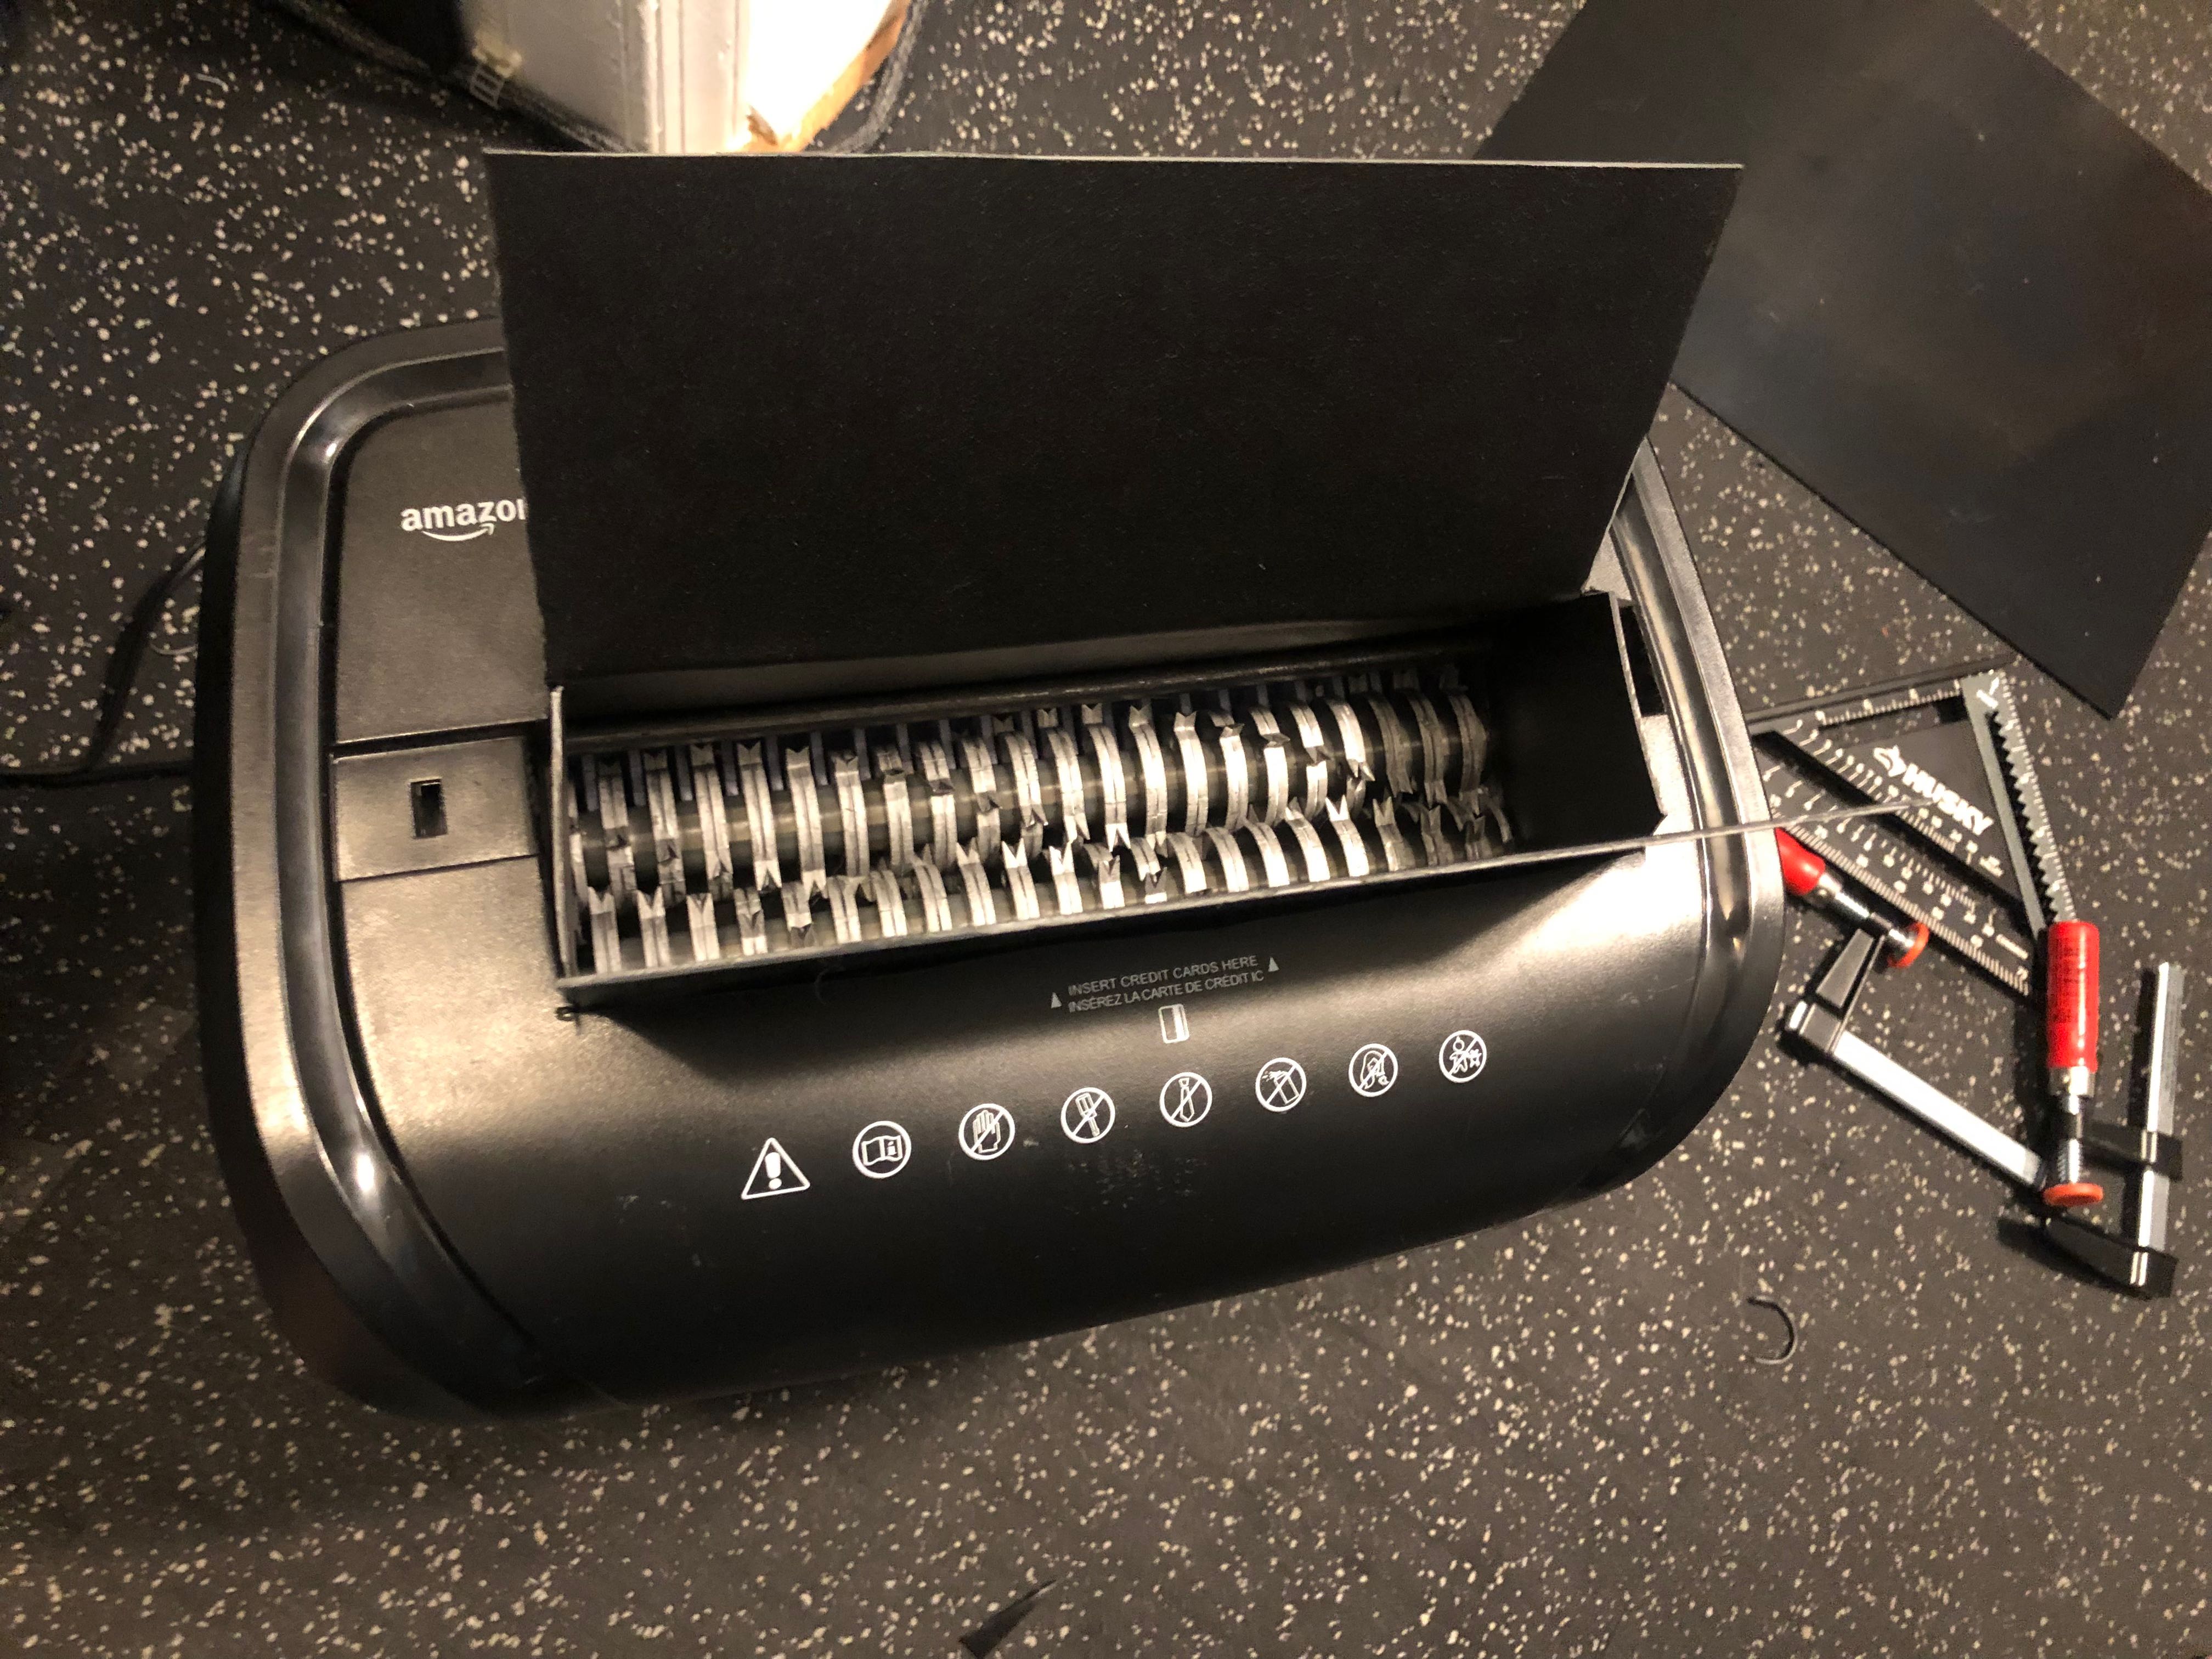
1. You don’t need to force the case open.
I missed a screw under a sticker. Don’t be like me and try to force it open.
If you don’t have a long/thin enough screw driver to reach some of the screws, use a drill to widen the holes in the plastic lid. As long as you don’t damage the screw itself, you’ll be able to re-assemble the shredder cleanly.
2. There’s no need to mess with the circuit board.
In the Instructable, they remove the IR sensors, but you can just cover the LEDs with duct tape.
This makes the sensor think there’s always a paper in the shredder and keeps the auto-stop feature disabled.
3. Some of the interior screws are tricky to put back in around the gear housing.
I wrapped a paper clip around these screws and used that to put them back in hard-to-reach places.
4. Don’t cut the semi circle piece when you’re widening the lid opening.
This will leave the circuit board exposed, and you’ll have to fit plastic to recover it. (Which is doable but annoying…)
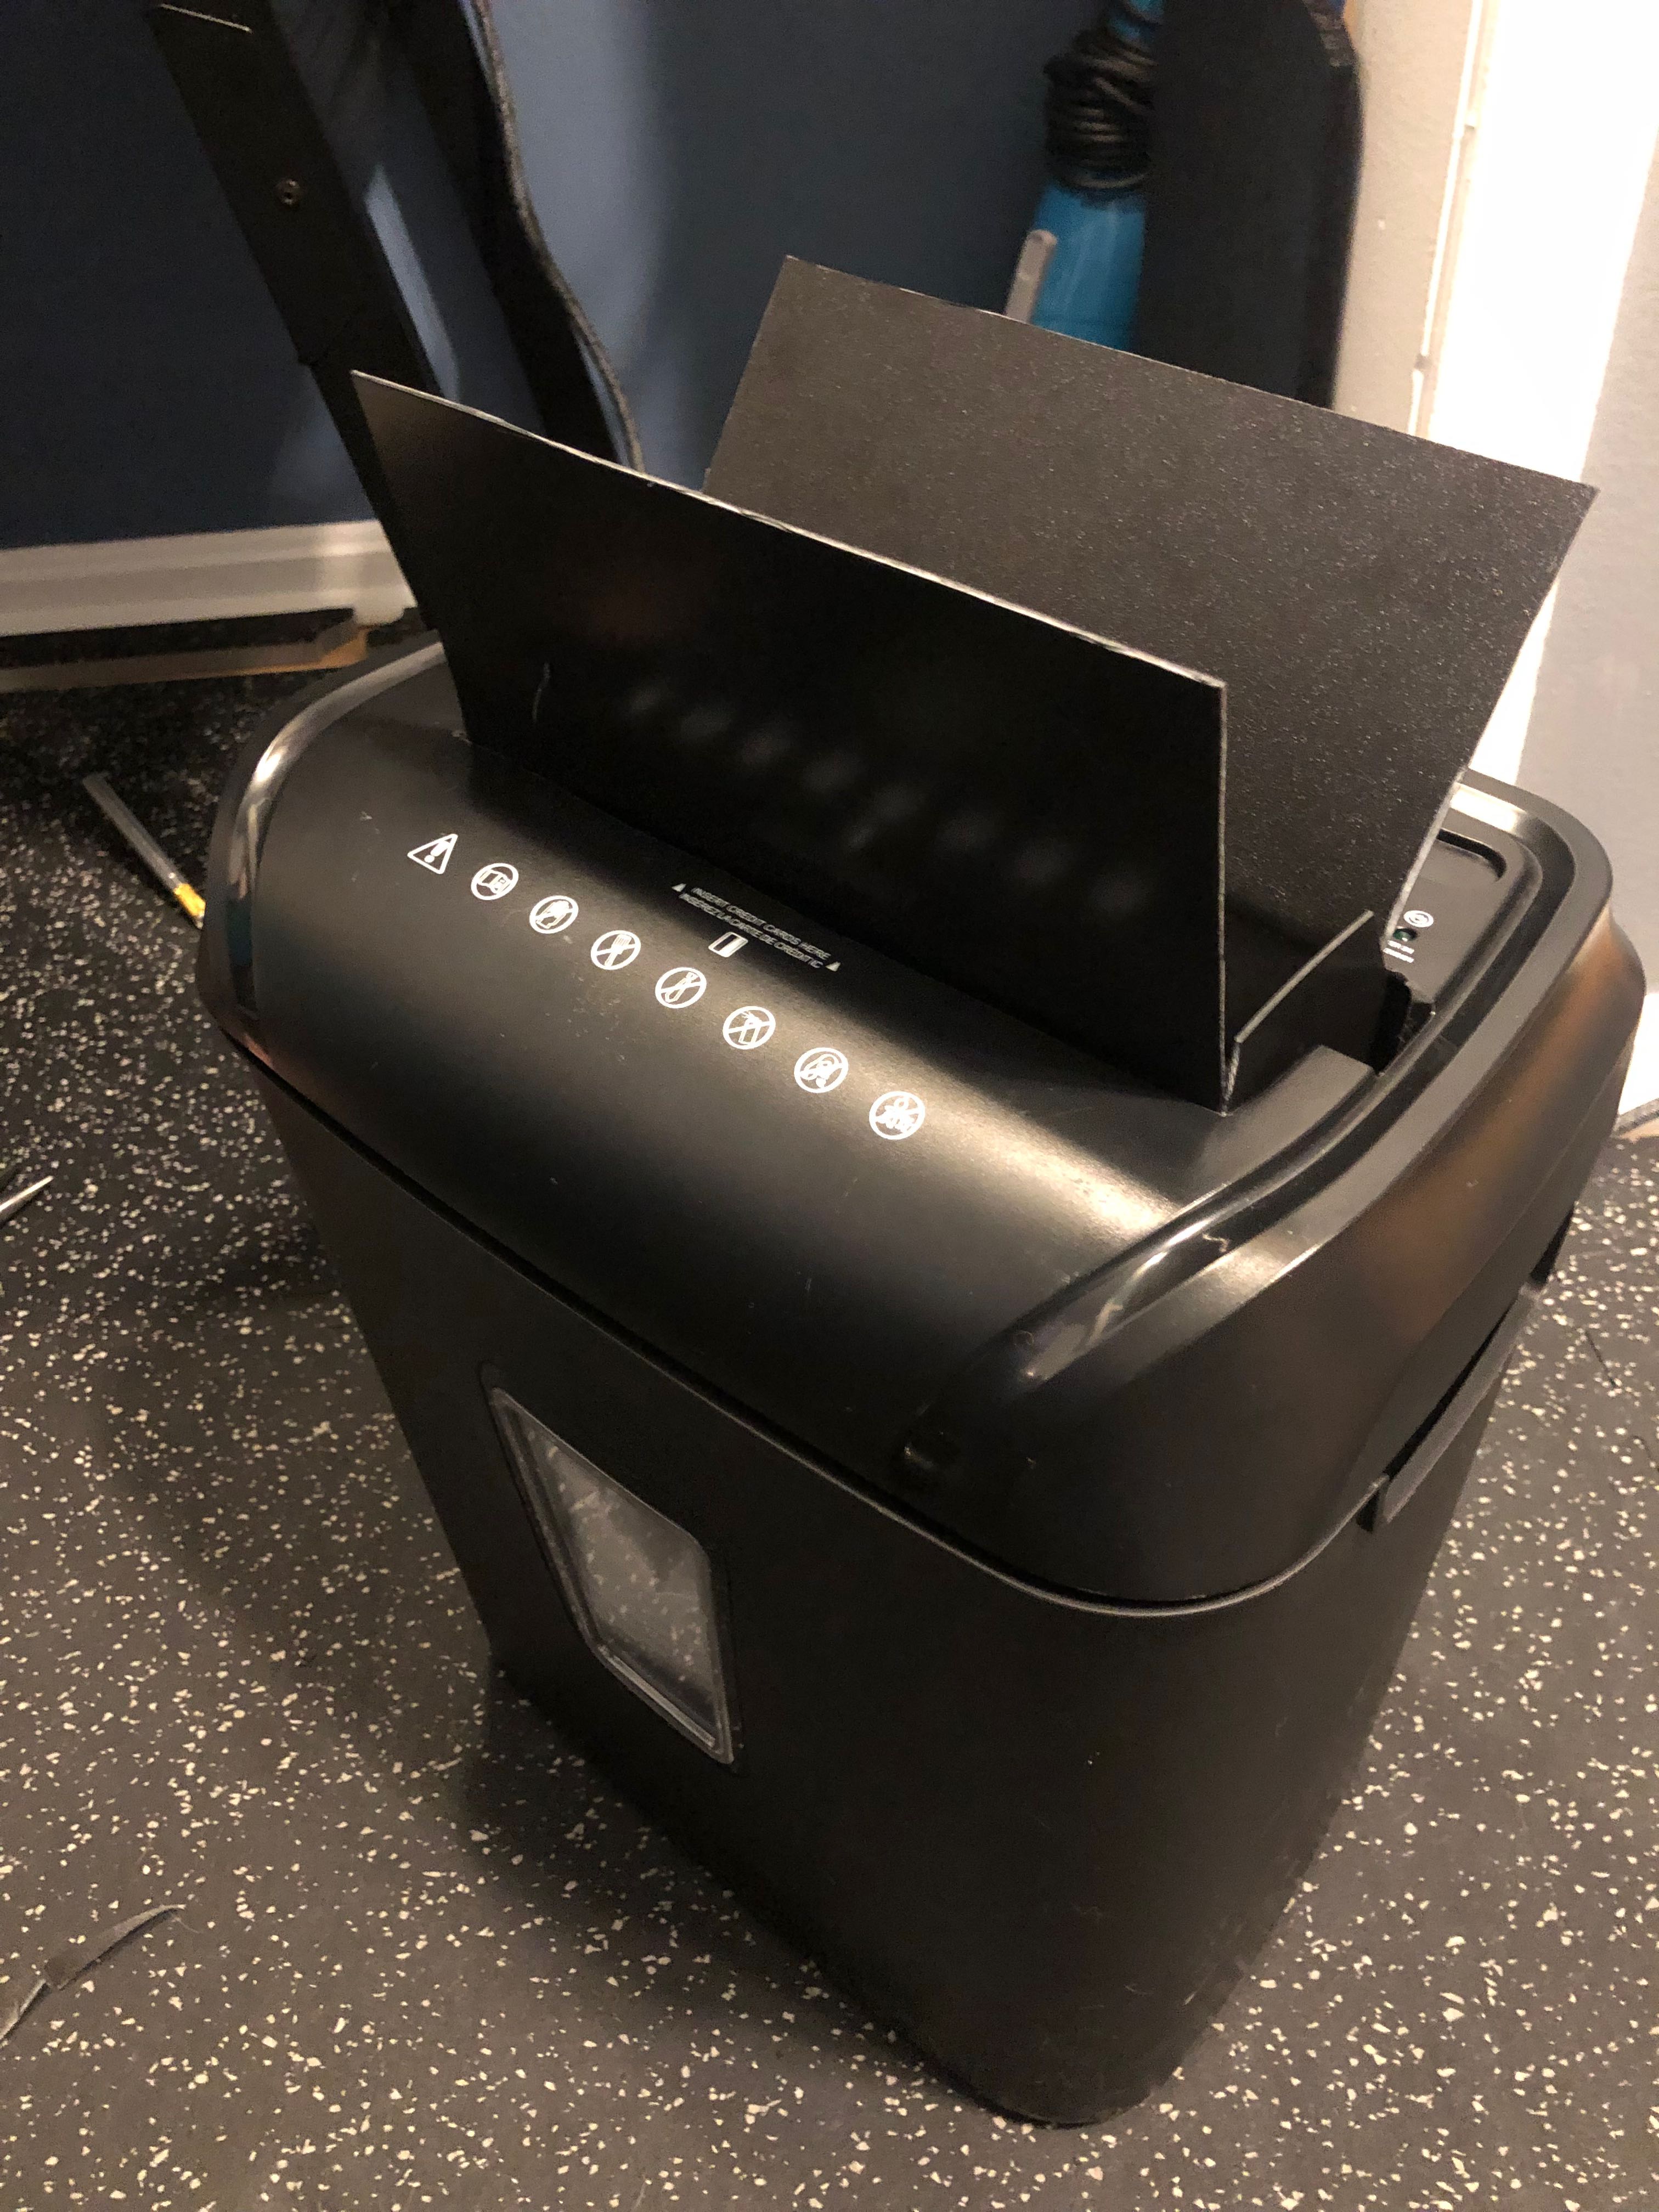
5. Create a hopper out of the plastic sheets
Having a plastic hopper was important for 2 reasons: 1 it allows you to more cleanly feed in parts and 2 it keeps plastic from clogging up the internal mechanisms.
I cut plastic sheets and attached them using the screw holes where the grey blade cover (that you’ll remove) used to be.
If you have a heat gun, use that to bend/mold the sheets so they fit through the lid opening and widen back up cleanly.
I’d recommend either adding a lid or adding a bend like they have in popcorn makers to keep pieces from flying out when you’re shredding things.
Results
Final result (before I updated the hopper):


The Instructables author operated his shredder in small pulses. I have not needed to do that yet, however when I shred pill bottles and other thicker/round containers I have found better success cutting them into halves or fourths with scissors before shredding.
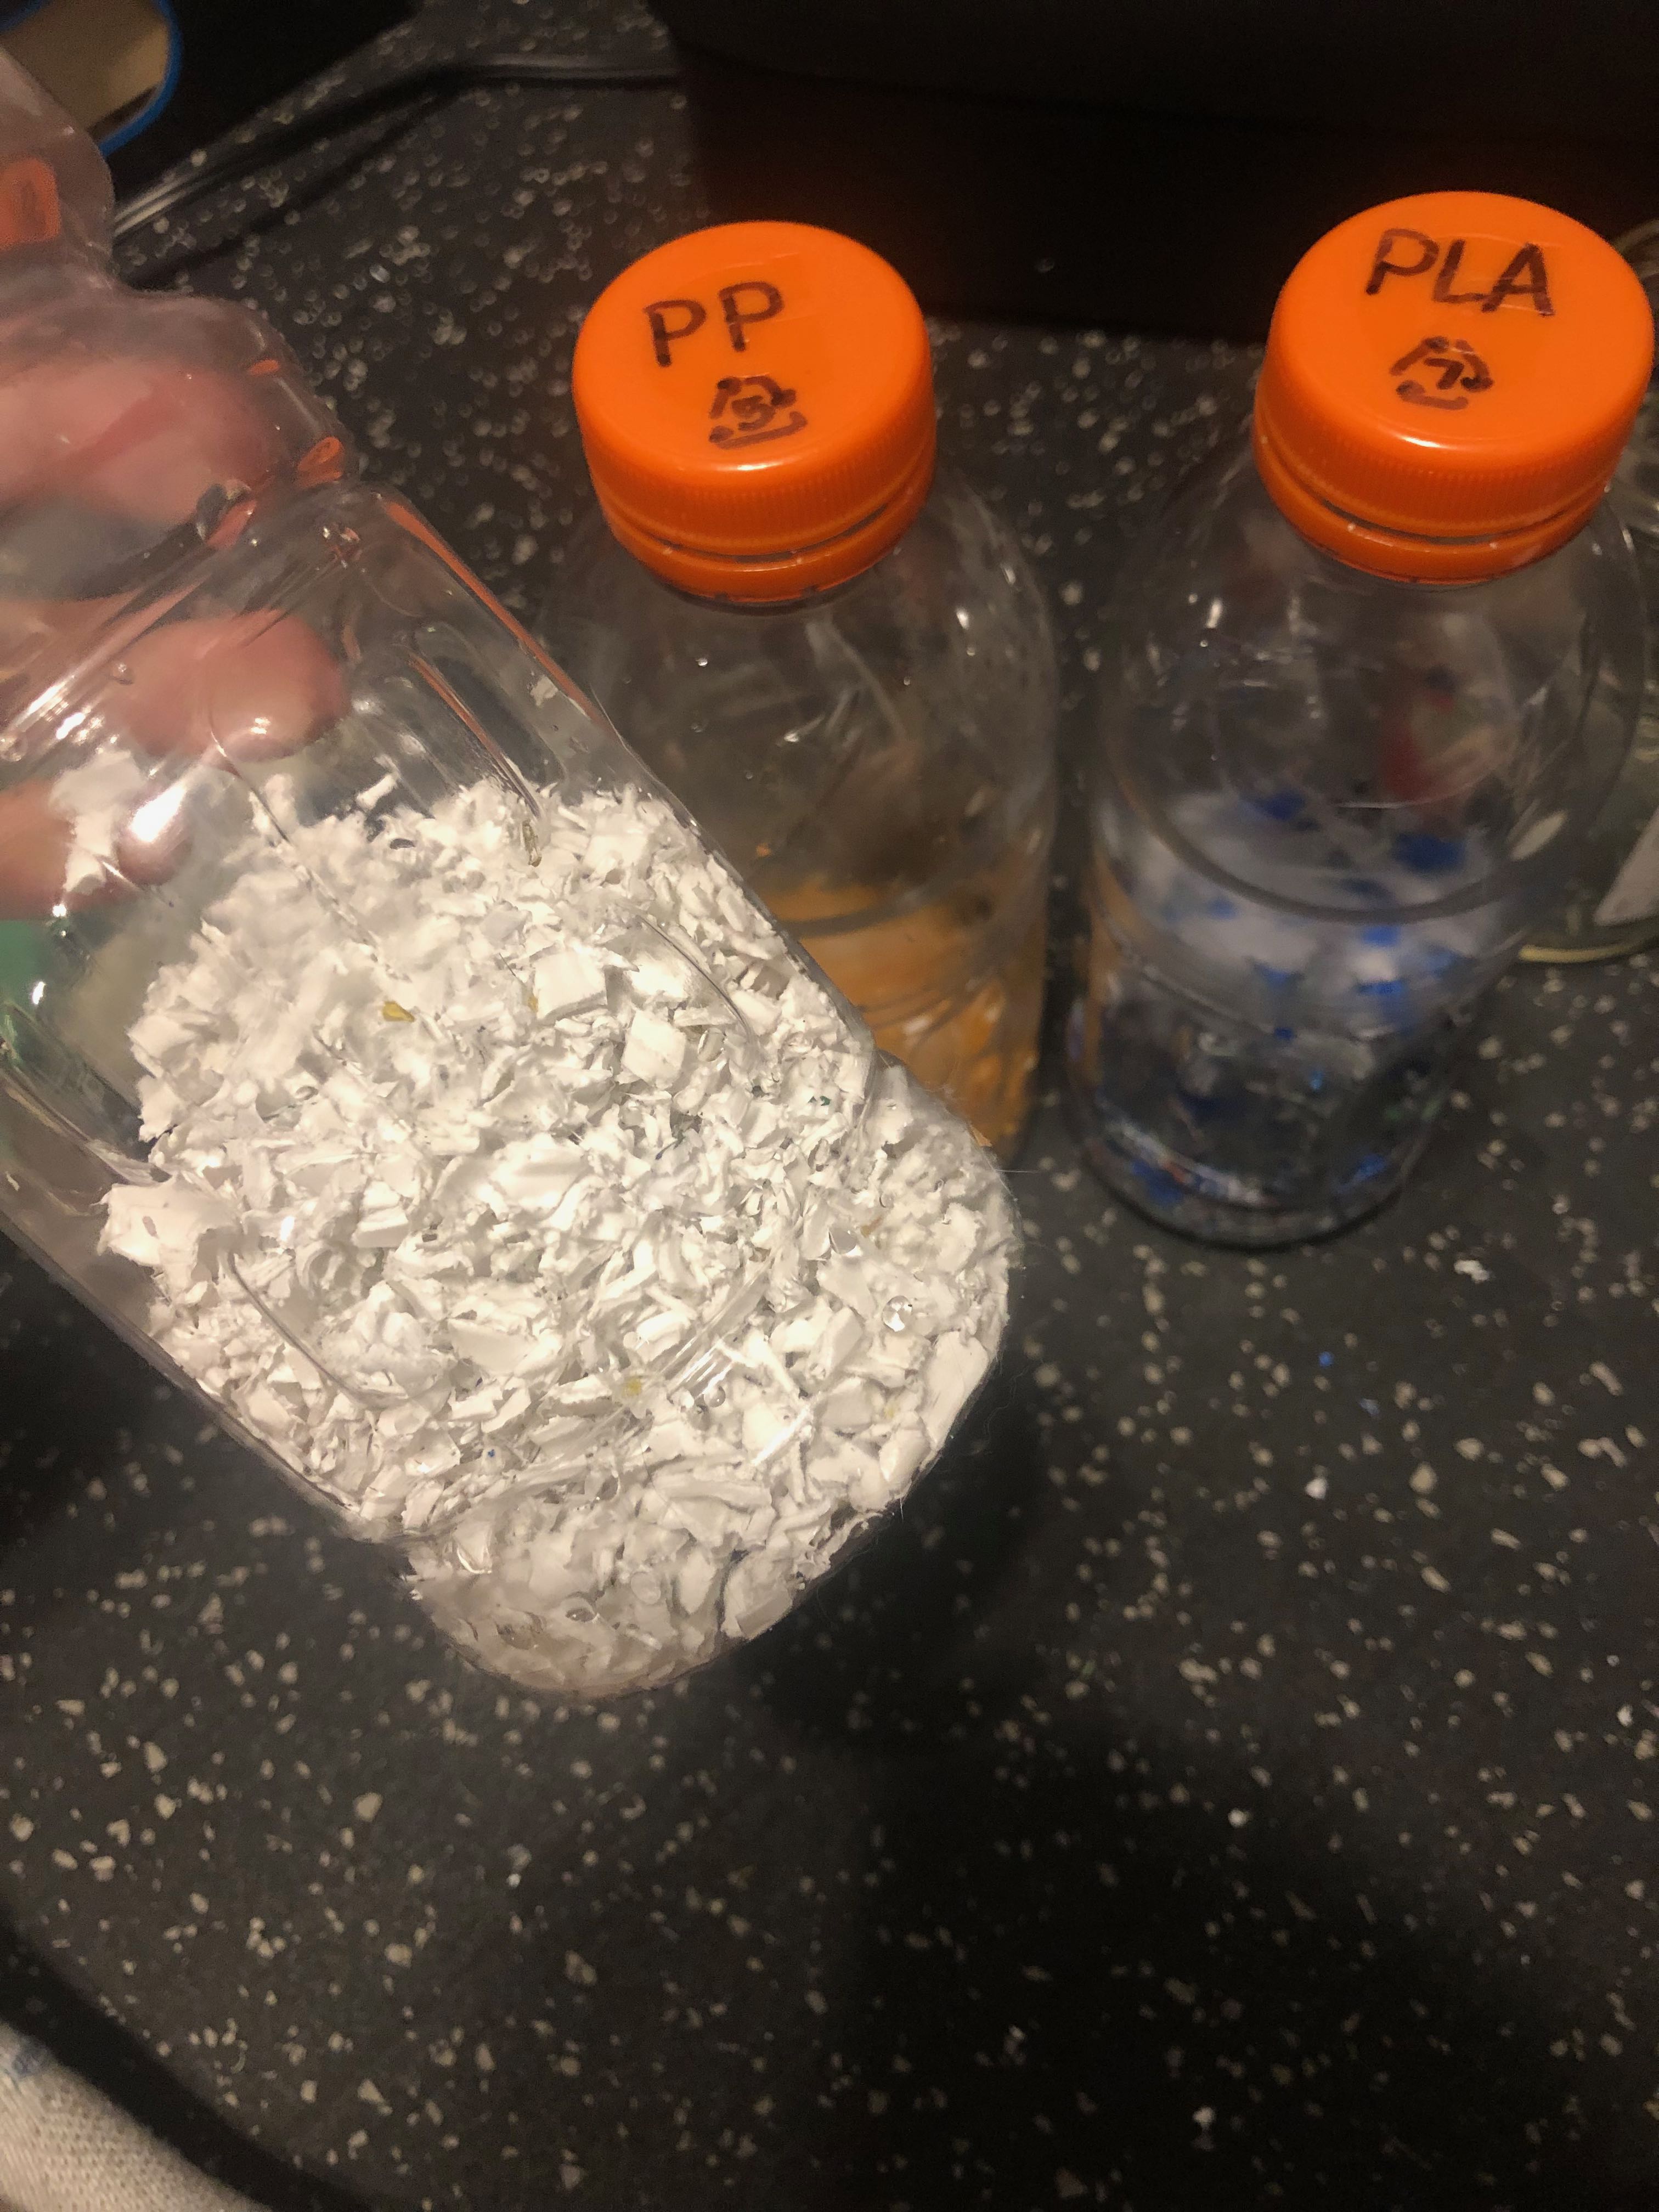
For the best uniformity, I’ve been running the plastic through 2-3 times with good results. Below is an example from just 2 passes:

Make sure your shredder and the trash bin are clean before you switch materials. Mixing plastics (especially ones with different melting temperatures) can mess up your extrusion results in later steps.
2. Drying
Some materials are more sensitive than others. It’s generally important to dry your plastic shreddings, because otherwise the moisture will cause the plastic to expand when it’s heated up. At best this will mess up your prints, at worst it could mess up your nozzle when the filament is extruded.
Materials
- Silica Gell Packets - $11
- Random jars or bottles
Results
There are several ways to dry your plastic. One common method is spreading the plastic out and drying it in an open oven for several minutes.
Instead, I decided to use the bottles I was storing my shreddings in and added a silica gel packet. These are cheap, reusable, and have been really effective so far.
3. Extruding
TBD